
Denim Upcycling
Up-cycled Denim Crochet Bag
Transform an old pair of jeans into a stylish bag in 5 easy steps
FREE DIY CROCHET PATTERN

Crochet up-cycled denim yarn bag.

Old pair of jeans.
We all have at least one pair of jeans we don’t wear, right? Well why not transform it into something completely different! With this FREE DIY crochet pattern and step by step instruction, you can transform an old pair of jeans into a stylish new bag!
This DIY project is not only eco-friendly but also allows you to create a unique accessory that reflects your personal style. If you don't have an old pair of jeans you feel comfortable cutting up, you could also buy a pair from a local charity or thrift shop.
you will need:
An old pair of jeans
A large crochet hook (I used 20mm)
Seam ripper
Scissors / rotary cutter
Heat and Bond ( or sewing machine / needle and thread)
Iron
Stitch markers
step by step instructions
1. Prepare the Jeans
Start by preparing your jeans. I chose to seam rip as much as I could to save as much of the fabric as possible. However, I will admit it was very time consuming so a quicker way would be to cut along all the seams. But try and keep as much fabric as you can, even if it seems to small to use, it may come in handy later on.

Pieces I had left after deconstructing my pair of jeans.
As you can see above, these were the pieces I was left with after deconstructing my pair of jeans. There are pieces that will come in handy for other projects as well. For example, the elastic from the waist band I used to add to another pair of trousers I thrifted from a charity shop! Nothing goes to waste here at Jennifer Anne Studios. The only bits I didn’t use to make yarn from next, were the zipper, pockets, pocket bags and belt loops, all of which are handy to keep for another project.
2. Piece together
To crochet your bag you will of course need to turn all these bits of jean into yarn. To do this I laid out all the pieces to create as much of a symmetrical rectangle as I could. This is where your small scraps can come in handy to fill in odd gaps.

Jean pieces constructed together to create a rectangle before creating yarn strips.
3. join together
Once you’ve laid out all your pieces to create as symmetrical of a rectangle as you can, you need to join these pieces together. You can either pin and sew it all together (by hand or machine), or you can fuse them together. I chose to use Heat and Bond which is a heat applied, fusible adhesive for this project, but either method works well.
4. create yarn
Next you need to turn your rectangle into long strips of ‘yarn’. To do this you are going to fold the rectangle in half long ways, but leaving an inch gap at the top. Then you want to cut from the bottom edge up to the top, but stopping at the inch we just left - so not cutting all the way through. You want to continue cutting approx 1cm strips until the full width of the rectangle. Once you’ve done this you will be left with a bunch of loops all connected at the top. To turn it into one long strip, cut the first strip off on its own, then following that, cut every pair. Continue this across the full length of the rectangle.
(There are useful YouTube videos to help with this, such as this one https://www.youtube.com/watch?v=udaudZqNPrI )
Once you get the hang of it, it’s like magic! Roll your yarn up into a ball, and you’re ready to crochet.

Rolling strips up into one continuous ball of yarn.
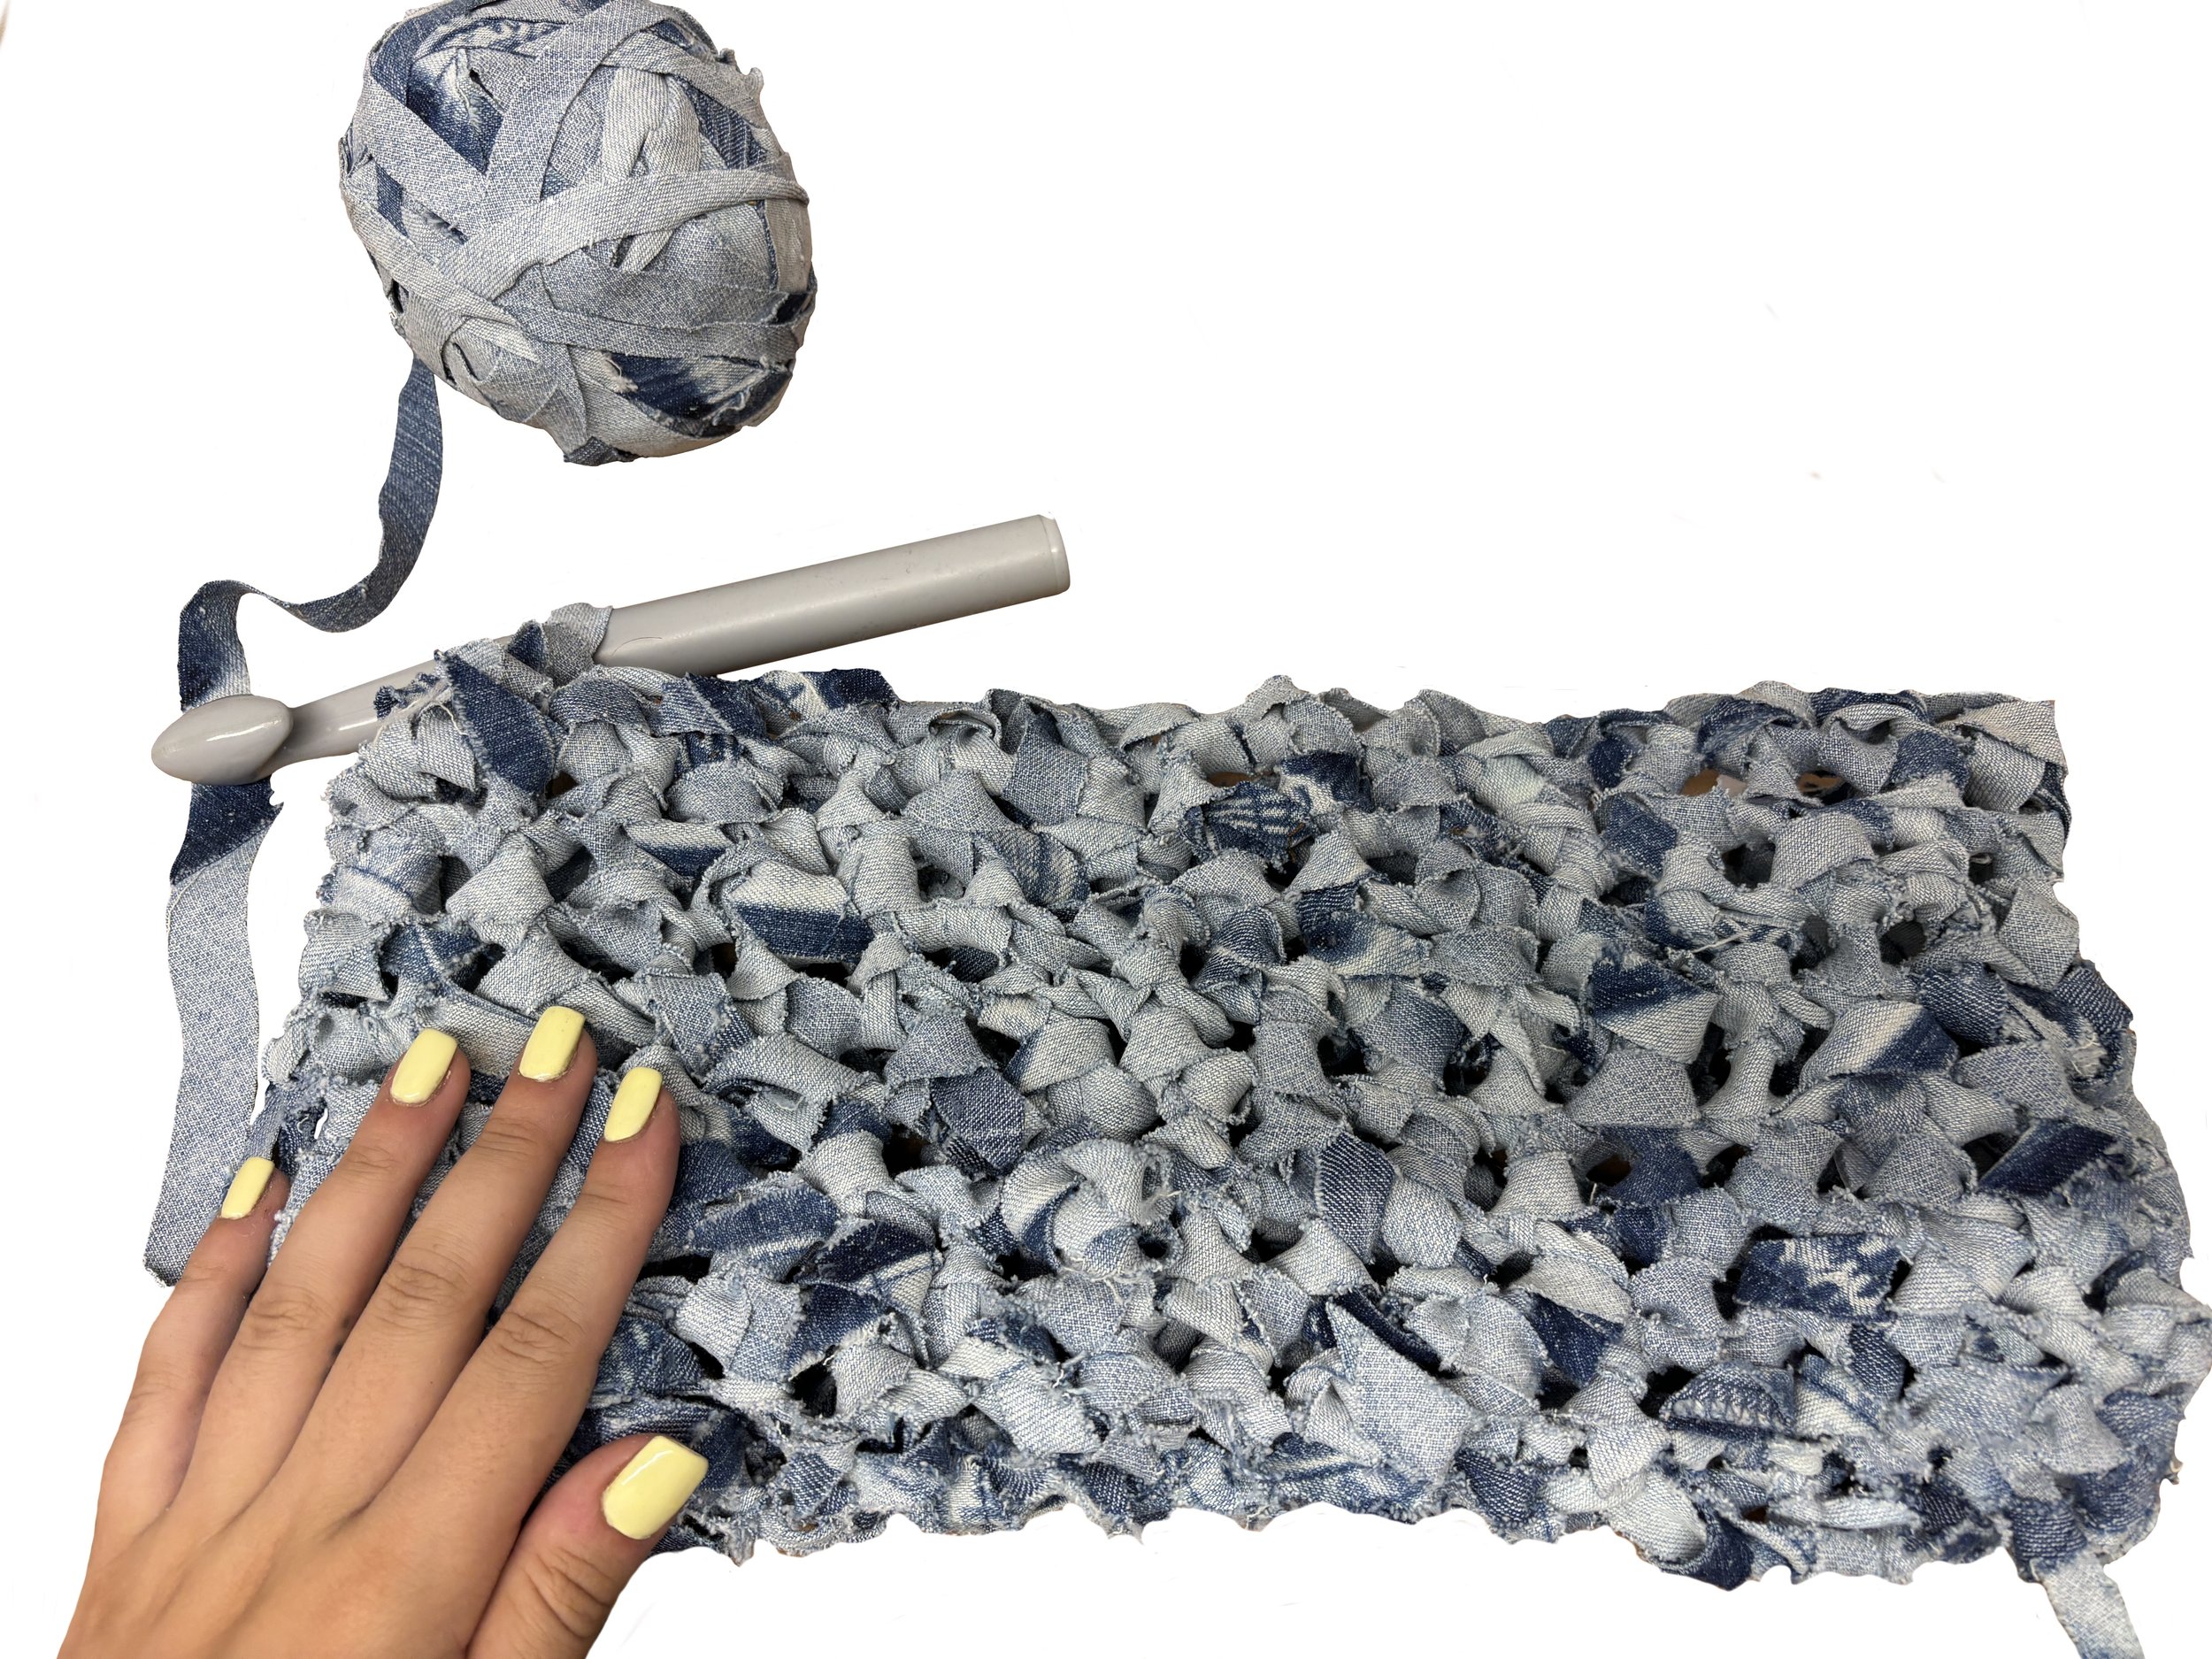
5. start crocheting

Depending on how thick you cut your yarn and how tightly crocheted you want your bag, will dictate the size of your crochet hook. The best thing to do is practice some small swatches with different size hooks. (You can unravel these to keep as much yarn as possible for the bag). I chose to use a 20mm hook but anything around 12mm and up will work depending on your project. You can also custom the size of your bag depending on how big you want it to be, but this pattern will use comfortably use one pair of jeans.
FREE Crochet Pattern
Create a slip knot and chain 15.
Tip: Optional but very helpful, add a stitch marker to the second from last chain, bottom loop only, at both ends to know where to increase and finish your row..
Tip: You will be working all the way around the chain for each row.
Row 1: Skip first chain, 13 sc, increase (3 sc in the same stitch), 12 sc, increase (2 sc in the same stitch), slip stitch, chain 1.
Tip: Add a stitch marker in the last increase stitch so you know when to stop your single crochets on the next row.
Row 2 - 9: 30 sc, slip stitch, chain 1.
Tip: Start your single crochets in the same stitch that you slip stitched into and add a stitch marker in this first stitch - the stitch markers will ensure you don’t crochet into the slip stitch or the chain 1 stitch.
Tip: You can do more or less rows if you wish to make the bag longer or shorter, depending on your hook and yarn size.
4. Handles - Lay your bag flat and count 2 stitches in either side to decide where your handles will start and end. You will have 2 handles so make sure to do this both sides of your bag. Add a stitch marker so you know where to start and attach your handles.

Tip: You can count more than 2 stitches in if you wish, but make sure it is even both sides and ends - you should have 4 stitch markers placed.
5. Sc in the first two stitches (or until you reach your marker), chain 30.
Tip: You can chain longer or shorter than 30 depending on how long you want your handles, but make sure it is the same for both handles.
Tip: Add a stitch marker in the first and last stitch back chain loop.
6. Attach your handle by single crocheting into the stitch you added your stitch marker to. Sc until you reach the next stitch marker.
7. Chain 30 (or to match your other handle)
Tip: Add stitch markers to the first and last stitch back chain loop.
8. Attach handle to your stitch marker with a single crochet. Do two single crochets (or until you reach the slip stitch section).
9. Slip stitch into the first stitch, chain 1, 2 sc.
10. Slip stitch into the back loops of the handle chain, starting and finishing at the stitch markers.
11. Attach by single crocheting into the same stitch your chain began from.
12. Single crochet until you reach the next handle.
13. Repeat step 10 and 11 on the other handle.
14. Single crochet until you reach the other handle, slip stitch into the last stitch.
15. Pull the yarn and tie off.
16. Weave in any ends (or don’t if you want that more ragged look!)
You’re done!
6. a step further
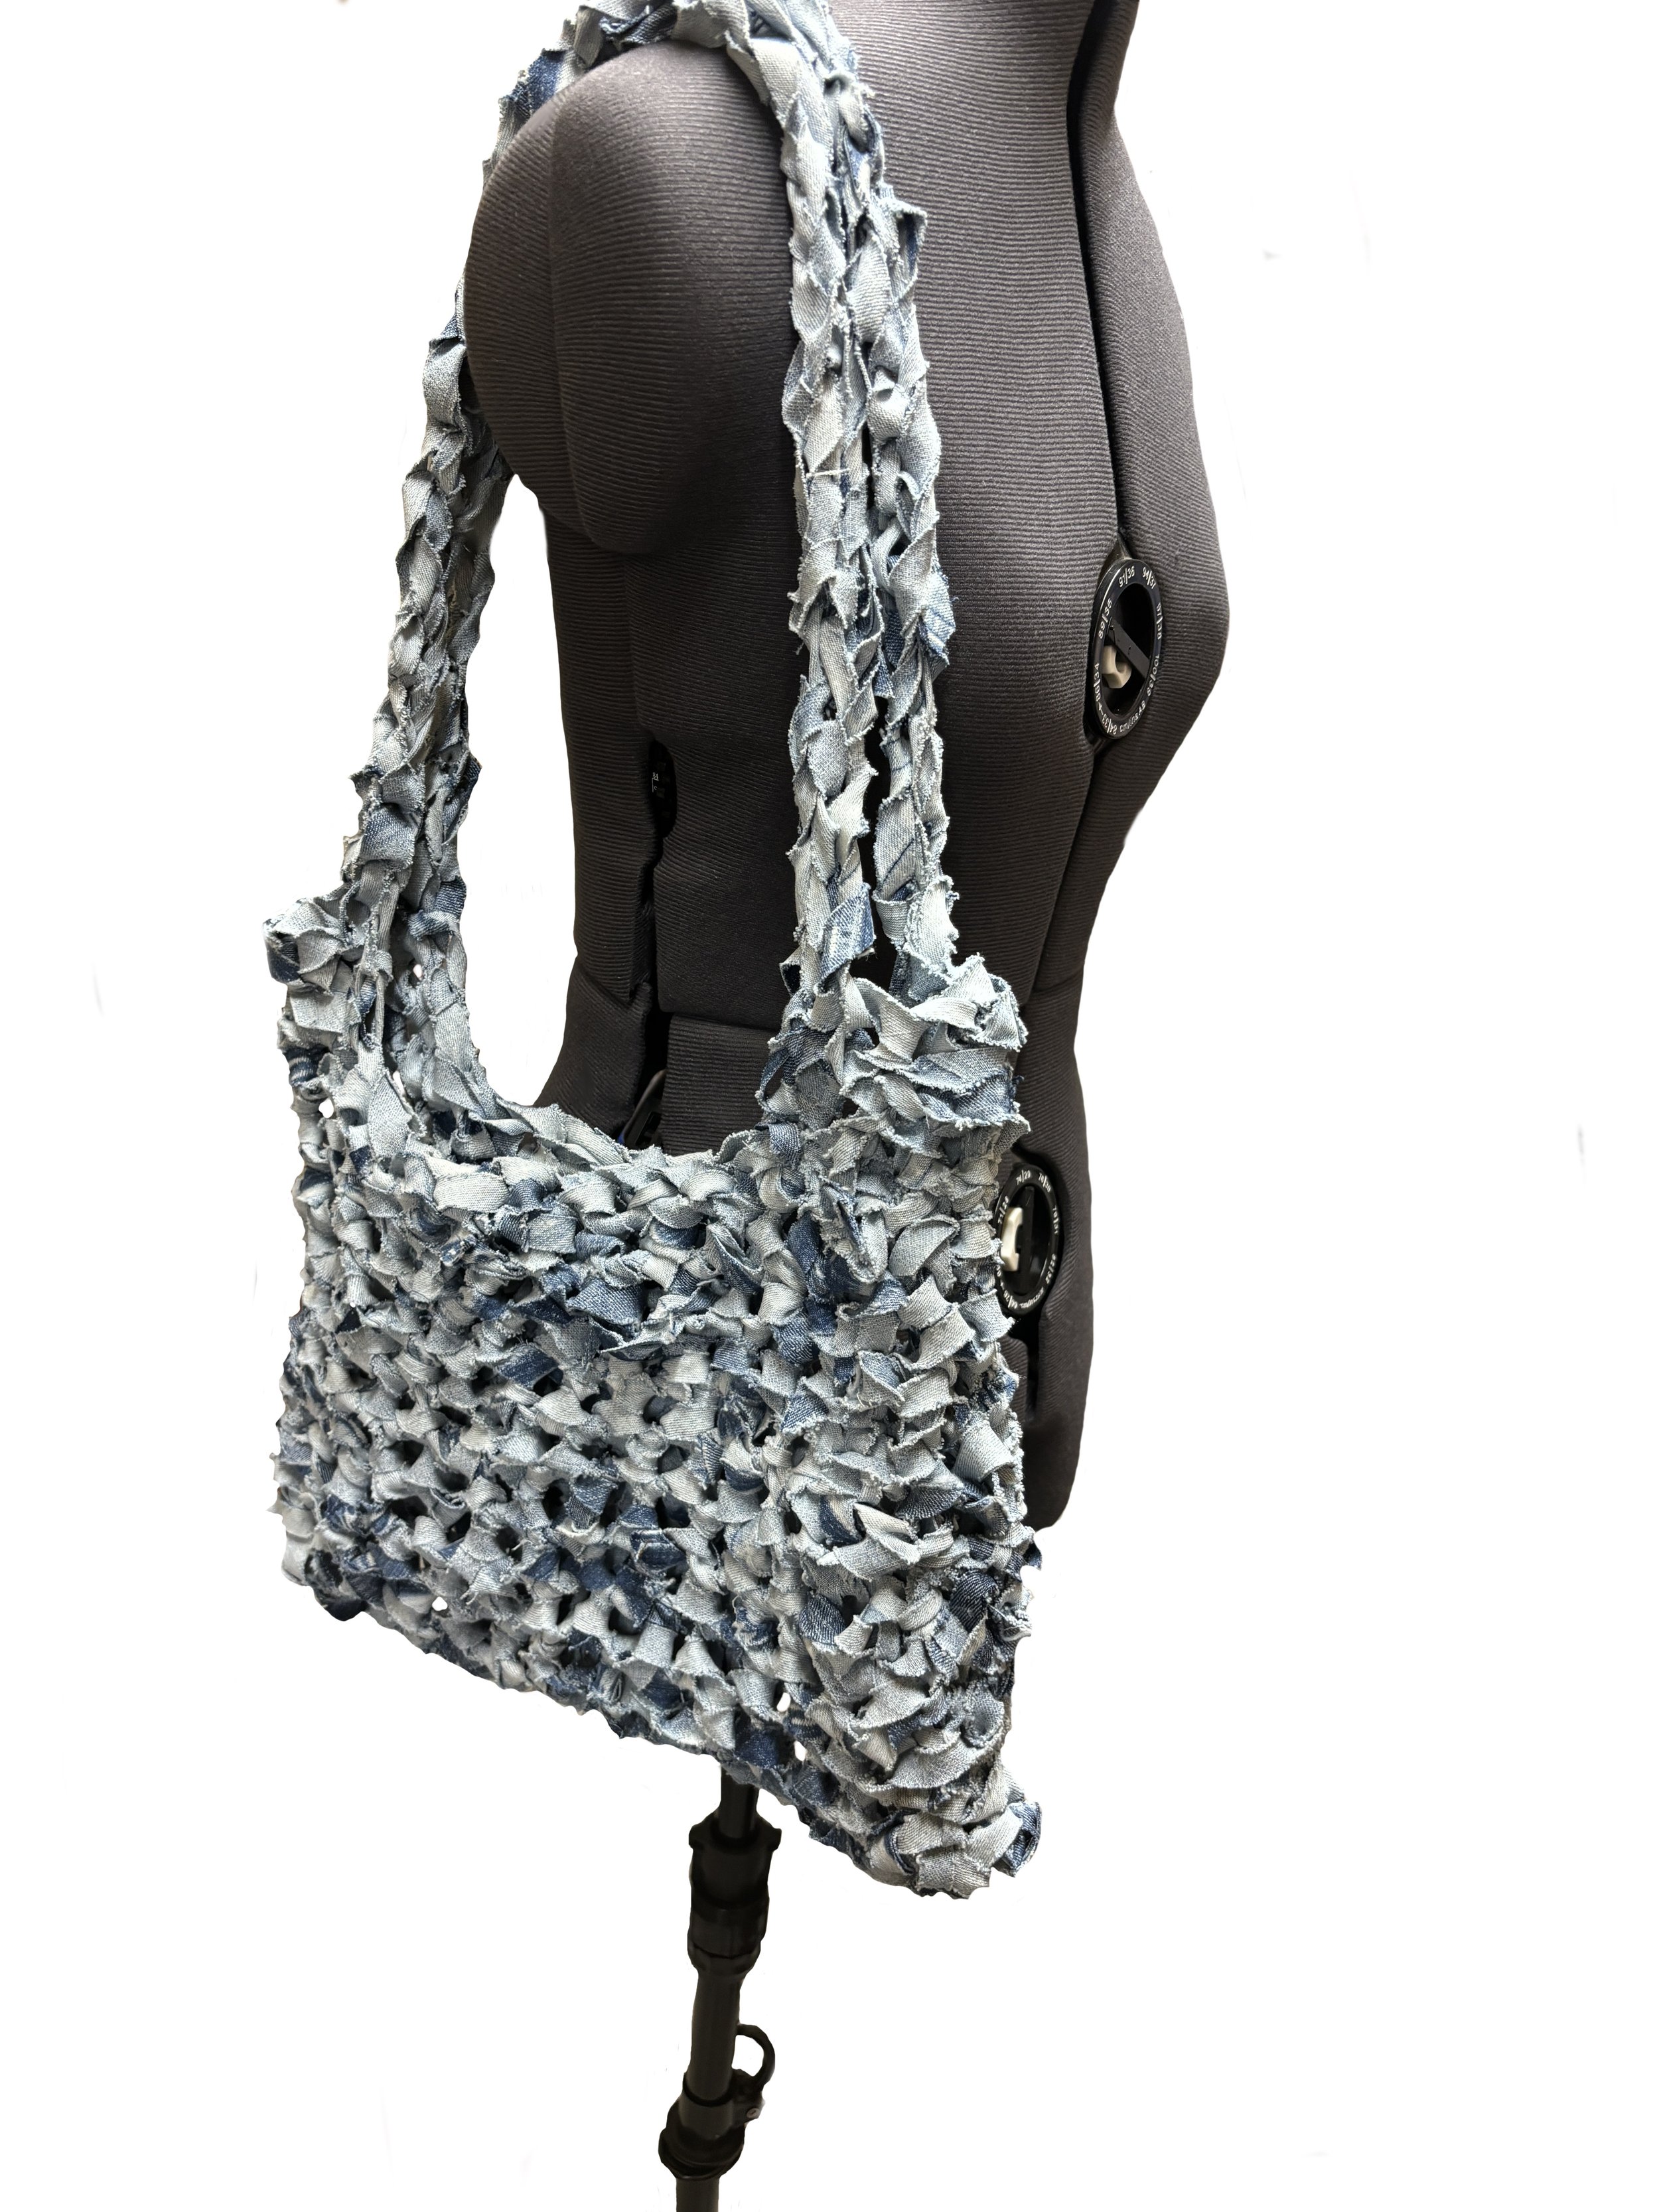
Crochet up-cycled denim bag